【Swift】空のセルを消す(非表示)
完成図

解説
・tableView.tableFooterView = UIView()
・tableViewのFooterを空のUIViewに設定することで、セルがなくなる仕組みなのだろう
・空のセルを消すといっても、separator(線)を消しただけなんだけどね
ソースコード
import UIKit

class ViewController: UIViewController,UITableViewDelegate,UITableViewDataSource {

    @IBOutlet weak var tableView: UITableView!

    //セルのテキストを格納
    var array = ["AAA","BBB","CCC"]

    override func viewDidLoad() {
        super.viewDidLoad()

        //これを追加するだけ
        tableView.tableFooterView = UIView()
    }

    // MARK: - Table view data source

    func numberOfSections(in tableView: UITableView) -> Int {
        return 1
    }

    func tableView(_ tableView: UITableView, numberOfRowsInSection section: Int) -> Int {
        return array.count
    }


    func tableView(_ tableView: UITableView, cellForRowAt indexPath: IndexPath) -> UITableViewCell {
        let cell = tableView.dequeueReusableCell(withIdentifier: "reuseIdentifier", for: indexPath)
        cell.textLabel?.text = array[indexPath.row]
        return cell
    }

}
【Swift】アラート内にtextFieldを設置する
完成図


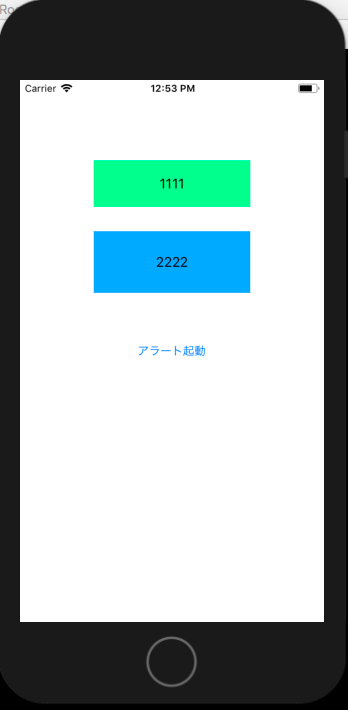
解説
・アラート内のtextFieldは複数設置可能
・各textFieldを識別するために、それぞれにtagを設定
・一旦、アラートのtextFieldを全て格納した配列を取得し、for文で1つずつ取り出していく
ソースコード
import UIKit

class ViewController: UIViewController {

    @IBOutlet weak var label: UILabel!
    @IBOutlet weak var label2: UILabel!

    //アラートビューコントローラー
    let alert = UIAlertController()

    @IBAction func alert(_ sender: Any) {
        //アラートコントローラー
        let alert = UIAlertController(title: "アラート", message: "テキストを入力せよ", preferredStyle: .alert)

        //OKボタンを生成
        let okAction = UIAlertAction(title: "OK", style: .default) { (action:UIAlertAction) in
            //複数のtextFieldのテキストを格納
            guard let textFields:[UITextField] = alert.textFields else {return}
            //textからテキストを取り出していく
            for textField in textFields {
                switch textField.tag {
                    case 1: self.label.text = textField.text
                    case 2: self.label2.text = textField.text
                    default: break
                }
            }
        }
        //OKボタンを追加
        alert.addAction(okAction)

        //Cancelボタンを生成
        let cancelAction = UIAlertAction(title: "Cancel", style: .cancel, handler: nil)
        //Cancelボタンを追加
        alert.addAction(cancelAction)

        //TextFieldを2つ追加
        alert.addTextField { (text:UITextField!) in
            text.placeholder = "好きなテキストを入力してね"
            //1つ目のtextFieldのタグ
            text.tag = 1
        }
        alert.addTextField { (text:UITextField!) in
            text.placeholder = "好きなテキストを入力してね"
            //2つ目のtextFieldのタグ
            text.tag = 2
        }

        //アラートを表示
        present(alert, animated: true, completion: nil)
    }

}
【Swift】UIRefleshController(インジケーター)の実装方法
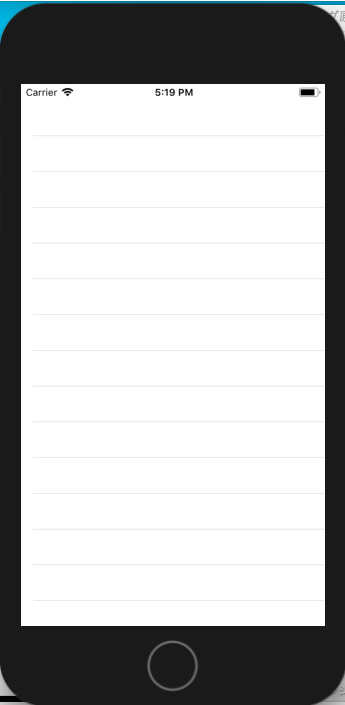
完成図
今回は、インジケーターを実行すると、
"更新したよ"
というテキストが代入されたセルが追加される。
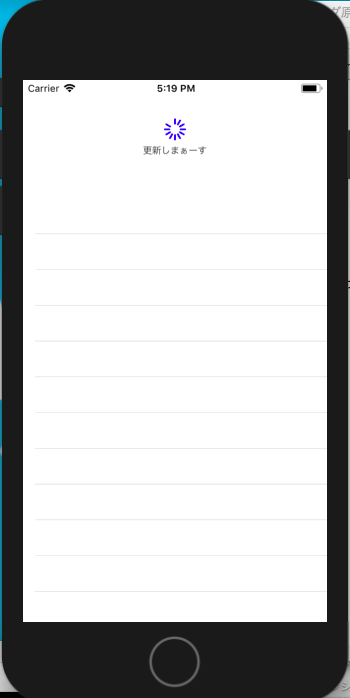

手順
- UIRefreshControlのインスタンスを生成
- 色、テキスト、などのプロパティを設定
- 実行したい処理や関数を追加
- tableViewにUIRefleshControlを設定する
- クルクル(インジケーター)を終了させる
ソースコード
import UIKit

class ViewController: UIViewController,UITableViewDataSource,UITableViewDelegate {


    @IBOutlet weak var tableView: UITableView!

    //セルに表示するテキスト
    var array = [String]()

    //UIRefleshControlの宣言
    let reflesh = UIRefreshControl()

    override func viewDidLoad() {
        super.viewDidLoad()

        //クルクル(インジケーター)の色
        reflesh.tintColor = UIColor.blue
        //クルクルの下に表示されるテキスト
        reflesh.attributedTitle = NSAttributedString(string: "更新しまぁーす")
        //実行したい処理を追加
        reflesh.addTarget(self, action: #selector(addText), for: .valueChanged)
        //tableViewにreflehsを追加
        tableView.refreshControl = reflesh

    }

    func tableView(_ tableView: UITableView, numberOfRowsInSection section: Int) -> Int {
        return array.count
    }

    func tableView(_ tableView: UITableView, cellForRowAt indexPath: IndexPath) -> UITableViewCell {
        let cell = tableView.dequeueReusableCell(withIdentifier: "cell", for: indexPath)
        cell.textLabel?.text = array[indexPath.row]
        return cell
    }

    @objc func addText() {
        array.append("更新したよ")
        //クルクルを終了させる
        self.reflesh.endRefreshing()
        //セルをリロード
        tableView.reloadData()
    }

}
【Swift】余白(padding)を入れたメッセージ吹き出しをLabelで表示
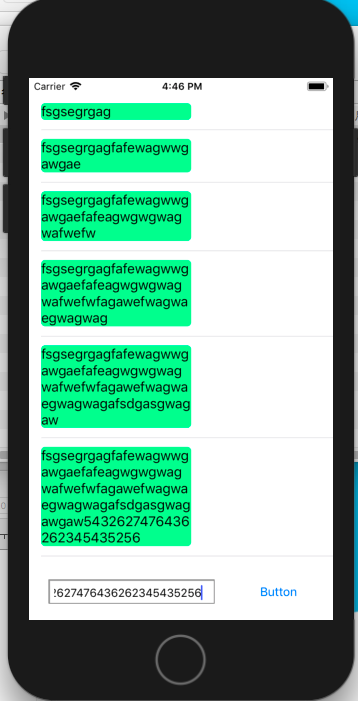
完成図
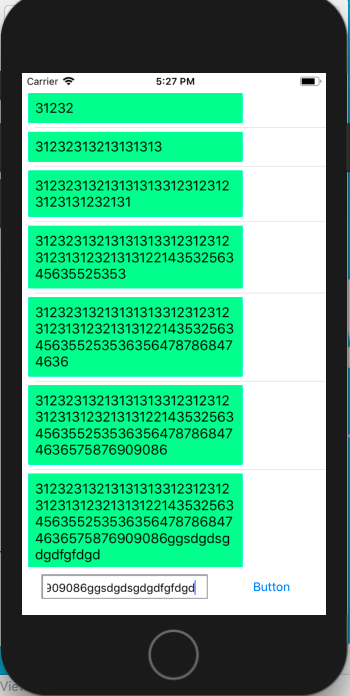
↓余白を入れない場合 ↓余白を入れた場合
解説
・前回の記事では、Labelだけを配置して、Labelを動的に可変させた
・しかし、文字数が多くなるにつれ、Label内がぎゅうぎゅう詰めになり、読みにくくなってしまう
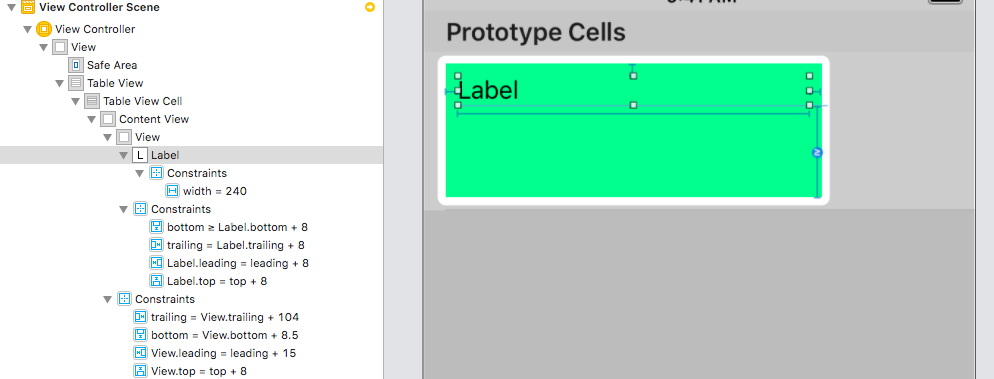
・そこで、セルの上にUIViewを配置し、その上にLabelを配置することで、あたかも余白が入ったように見える
・UIViewに背景色を付けるだけでOK
ストーリーボード
ソースコード
import UIKit

class ViewController: UIViewController,UITableViewDelegate,UITableViewDataSource {

    @IBOutlet weak var tableView: UITableView!
    @IBOutlet weak var textField: UITextField!

    //セルに表示するテキストを格納した配列
    var array = [String]()

    func numberOfSections(in tableView: UITableView) -> Int {
        return 1
    }

    func tableView(_ tableView: UITableView, numberOfRowsInSection section: Int) -> Int {
        return array.count
    }

    func tableView(_ tableView: UITableView, cellForRowAt indexPath: IndexPath) -> UITableViewCell {
        let cell = tableView.dequeueReusableCell(withIdentifier: "cell", for: indexPath)

        //labelを生成
        let label = cell.viewWithTag(1) as! UILabel
        //labelの行を無制限に
        label.numberOfLines = 0
        //labelに角丸をつける
        label.layer.cornerRadius = 5.0
        label.clipsToBounds = true
        //labelにテキストを代入
        label.text = array[indexPath.row]

        return cell
    }

    @IBAction func button(_ sender: Any) {
        //入力したテキストを配列に格納
        array.append(textField.text!)
        //セルをリロード
        tableView.reloadData()
    }

}